 WebMail
Installation of NCmatic Toolkit for NX steps
Run installation *.exe file.
To make that you do it with administrator privileges, use “Run as administrator” from context menu.

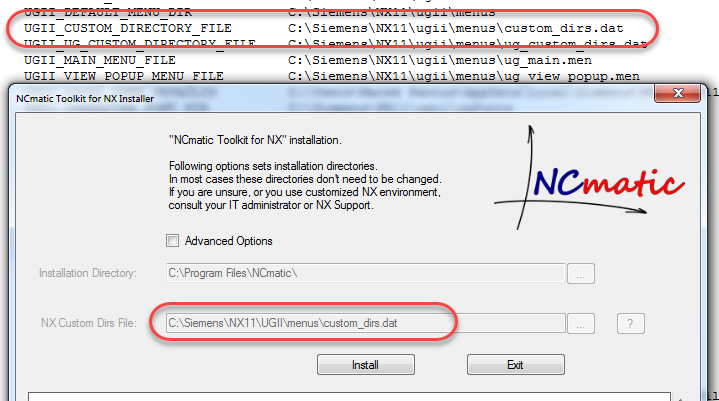
If you are using NX with default out of the box NX installation, you can simply click OK and skip next step.
To make sure if you use default NX installation:
– start NX the way as you always do.
– Go to Menu –> Help –> Log File
– Search for “UGII_CUSTOM_DIRECTORY_FILE”
If directory in LOG File is identical with the one visible in Toolkit installation dialog, it means that you use default NX installation and you don’t need to change this setting in Toolkit Installer.
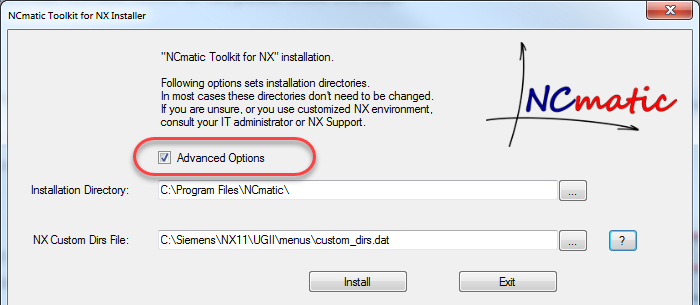
Optional:
If you need to change Installation Directory or directory of NX Custom Dirs File, check Advanced Options box.
Installation Directory – this is a place where all Toolkit files will be installed. This should be the directory where Operating System has read and write permissions without any additional notifications.
NX Custom Dirs File – NX file which stores information about modifications in NX installation directories. You should select *.dat file which is used by NX. To check which file is this, use NX Log file, as mentioned in previous point.
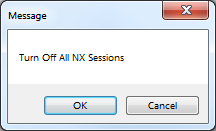
If there is NX still running, Toolkit Installer will prompt you to close NX.
Close NX first, and then click OK to continue installation.
If you don’t want to close NX, you can abort Installation by clicking Cancel.
If all NX sessions are closed, you can start installation by clicking Install button.
Toolkit Installer will now copy all application files, and notify you if installation was done successfully or not.
After that you can click Exit. This completes installation process.
